

![100cm Rifle Bag - Tan [PJ] - Durable Nylon with MOLLE Panel](https://equipster.eu/wp-content/uploads/2026/06/GB-52-T-242x250.webp)

Waist Bags and Pouches: How to Properly Organize Your Equipment
A waist bag or a belt full of pouches is only as good as its organization. The same pouch that gets you a magazine in two seconds can become a noisy, bouncing “ball of chaos” if it’s packed and placed without a system. Whether you’re setting up an EDC waist pack for the city, a battle belt for range days, MOLLE pouches for airsoft, or a utility setup for hiking and hunting, the rules of good organization are the same — and they’re learnable.
This guide covers the types of waist-carried gear, the five core principles of equipment organization, a step-by-step packing method, ready-made layouts for every use case, and the MOLLE basics that keep pouches exactly where you put them.
Why Waist-Carried Gear Still Matters
In tactical doctrine, everything you carry is divided into “lines,” and the waist is the foundation of the whole system:
- First line — belt and pockets: what you need if you lose everything else (medical, tool, light, water).
- Second line — vest, chest rig or battle belt: your working gear for the task (magazines, radio, dump pouch).
- Third line — backpack: sustainment, food, shelter, reserves.
A waist bag or pouch setup sits across the first and second lines. It’s the gear you can reach while sitting in a car, wearing a backpack, or after the pack comes off. Done right, it’s hands-free, balanced, and every item has a known address you can hit without looking.
Browse the full selection in Tactical Gear > Waist Bags & Pouches and Outdoor > Backpacks / Tactical Gear > Bags & Packs.
Know Your Gear: Types of Waist Bags and Pouches
Waist Packs (Fanny Packs)
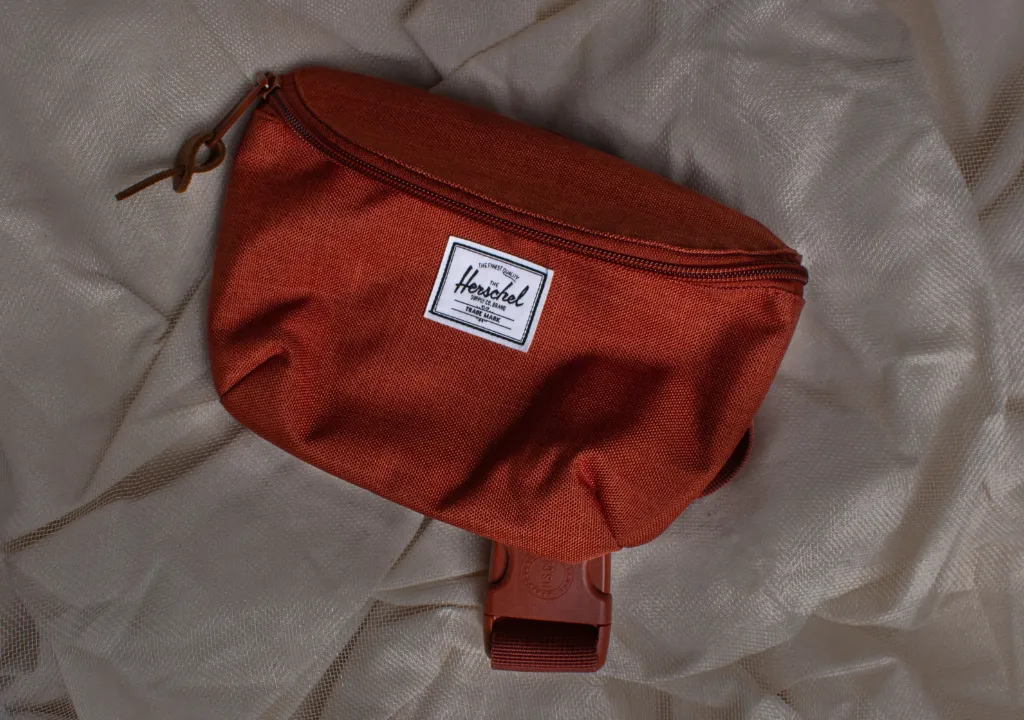
The civilian workhorse. One to three compartments worn front, side or back. Best for EDC and hiking: water, first aid, tools, snacks. Modern tactical waist packs add loop panels and magazine inserts, blurring the line with a battle belt.
MOLLE Utility Pouches
The modular brick of any belt or vest. Medium volume, open purpose — cord, gloves, batteries, gas cans, anything task-specific. Attach to belts, packs and vests & chest rigs.
Magazine & Bottle Pouches
Purpose-built retention for magazines or water bottles. On a range or airsoft belt they’re your “ammo address” — always the same position, always the same draw.
Admin Pouches
Flat, wide, organizer-style: documents, pens, maps, permits, multi-tool. Lives at the back or side of the belt where it doesn’t interfere with the draw.
Dump Pouches
A rollable open-top bag for empty magazines and brass. Folds flat until needed — a range and airsoft staple. See Airsoft > Accessories for game-ready options.
Medical Pouches
A dedicated, instantly recognizable pouch for first-aid essentials. Rule one: it always sits in the same place, and everyone in your team knows where yours is.
Drop-Leg Platforms
Move pouches or holsters from the belt to the thigh — useful when the belt is crowded, when wearing body armor, or for vehicle crews. Trade-off: more swing while running.
The 5 Core Principles of Equipment Organization
- Frequency dictates placement. What you use most goes to the fastest address: dominant-side front. What you use rarely goes to the back or bottom.
- One pocket, one purpose. Never a junk compartment. If a pocket is “medical,” nothing else ever lives there.
- Weight close to the body, balanced left–right. Heavy items near your spine and centered; keep left and right sides within about half a kilogram of each other.
- Standardization beats optimization. The same layout every time builds muscle memory. Photograph your final setup and rebuild it identically after every use.
- Noise and snag discipline. Loose tools rattle; rattling gives you away on a hunt or in airsoft and drives you crazy in the city. Sleeve, loop or roll everything; secure zipper pulls.
How to Organize a Waist Bag: Step by Step
- Empty and sort. Dump everything out and make three piles: always-carry, task-specific, rarely-used. Be ruthless — the third pile stays home.
- Assign compartments. Always-carry items get permanent addresses; task-specific items get one dedicated pouch each; rarely-used items go to the deepest compartment.
- Build the interior. Use dividers, elastic loops and hook-and-loop panels so items stand in place instead of migrating. Quick-access items (light, knife, phone) go in the outer pocket.
- Place pouches on the belt by the clock. Treat your belly button as 12 o’clock and assign positions (see the layout table below).
- Load, balance, test-walk. Ten minutes of walking, sitting, squatting and drawing reveals every mistake. Adjust, then photograph the layout — that photo is your standard.
![Tactical waist bag with organized MOLLE pouches and EDC contents — alt=”tactical waist bag with organized MOLLE pouches layout”]
Belt Layouts by Use Case
The Clock System
| Clock position | Best for | Why |
|---|---|---|
| 12–2 o’clock (dominant front) | Mag pouches, primary tools | Fastest access, works from standing and kneeling |
| 9–10 o’clock (support front) | Utility pouch, knife, flashlight | Cross-access with either hand |
| 3–4 o’clock (dominant side) | Holster (if carried) | Natural draw angle, clear of arm swing |
| 5–7 o’clock (back) | Admin pouch, dump pouch, flat/light items | Out of the way; avoid hard objects if you sit or go prone |
| 8–9 o’clock (support side) | Medical pouch, water bottle | Accessible with support hand, balances the holster |
Everyday Carry (City)
Waist pack worn front or side: phone/power bank in the outer pocket, wallet and keys in a zippered inner slot, multi-tool and flashlight in fixed loops, a compact first-aid kit in its own compartment. Total weight 1–2 kg. Pair with Tools & Maintenance for quality multi-tools.
Hiking & Outdoor
Waist pack as the “snack and navigation station” so the backpack stays on your back: water bottle or bladder side pocket, map/GPS/headlamp in the main compartment, sunscreen and snacks up top, first aid in a marked red pouch. Check Outdoor > Backpacks for third-line packs that pair with a waist setup.
Range Day
Battle belt layout: mag pouches at 12–2, dump pouch folded at the back, admin pouch with ear plugs, lens cloth and tools at 5–7, water at 8–9. Whether you shoot Hunting & Shooting > Firearms or Shooting > Airguns, the layout stays identical every session — that’s the point.
Airsoft & Tactical Games
Mags or gas bottles at 12–2, speedloader in the utility pouch at 9–10, radio at the support side, dead rag and spare battery in the admin pouch, dump pouch at the back. Stock BBs and gas from Airsoft > BBs & Gas and keep the pouch count low — every extra pouch is weight you sprint with.
Hunting
Quiet fabrics only. Calls and wind checker in the outer pocket, ammo in a dedicated pouch at 12–1 (Hunting & Shooting > Ammunition), knife and game tags in the admin pouch, gloves clipped to a loop. Nothing that rattles, nothing that needs two hands to open.
MOLLE Basics: Attaching Pouches That Stay Put
- Weave, don’t clip. Pass the pouch straps over-under through both the pouch backing and the belt webbing, alternating layers, and secure the snap or clip at the bottom. A strap that only goes through the top row will eject the pouch under load.
- Position before tightening. Sit, kneel and squat with the belt on before final weaving — pouches migrate to where your body bends.
- Keep hard items off the bend points. Pouches directly over the hip flex will fight you on every step.
- Tug-test every pouch after weaving: two hard yanks, no movement. Re-check at the start of every game or session.
- Use the right belt. A soft fashion belt turns 3 kg of pouches into a sagging mess. Load-bearing setups need a stiff inner/outer belt pair or a dedicated MOLLE belt; pair with Hunting & Shooting > Weapon Accessories for belt keepers and attachments.
![Battle belt with pouches placed by clock positions on a table — alt=”battle belt MOLLE pouch placement clock positions”]
Common Mistakes to Avoid
- The junk compartment — one pocket full of “stuff” guarantees you’ll dig for everything at the worst moment.
- Random layout — rebuilding the belt differently every time destroys muscle memory.
- Heavy at the back — a full bottle or tool pouch at 6 o’clock makes the belt sway and punishes your lower back.
- Overloading — a waist setup is a sprint kit, not a warehouse. Past ~4–5 kg on the belt, move gear to the pack.
- Blocking the draw — a pouch that steals the holster’s or magazine’s path to your hand is a safety issue, not an annoyance.
- Ignoring weather — no drainage grommets or waterproofing where rain and river crossings happen; wet first aid is dead first aid.
Fit, Comfort and Care
Wear a load-bearing belt on the iliac crest (the top of your hip bones), not on the waist — the bones carry the weight, not your muscles. Size it so you can fit two fingers under the belt with pouches loaded. Padded or dual-belt systems spread the load on long days.
Care is simple: brush off dirt, hand-wash with mild soap, air-dry away from direct heat, keep zippers clean (a silicone stick, not oil-based grease), and inspect stitching and MOLLE bars seasonally. A waist bag is a ten-year purchase if you treat it like gear, not luggage.
FAQ – Waist Bags & Pouches Organization
Q1: How much weight can I comfortably carry on a waist belt or bag? For all-day comfort keep it under 10–15% of body weight total; in practice a well-set battle belt handles 3–5 kg and an EDC waist pack 1–2 kg.
Q2: Should a waist bag sit on the waist or the hips? On the hips (iliac crest) when it carries weight — the bones take the load. On the waist or crossbody for light, discreet EDC.
Q3: How many pouches should be on a belt? As few as the task allows. Most working setups run 3–5 pouches; every extra pouch is weight and a snag point.
Q4: What’s the difference between a battle belt and a regular belt? Stiffness and structure. A battle belt uses rigid webbing and MOLLE rows so pouches stay put and weight spreads around the hips instead of sagging.
Q5: How do I stop pouches from bouncing or rotating? Correct over-under MOLLE weave, a stiff belt, belt keepers, and keeping heavy items close to the body and balanced left–right.
Q6: What should always be in my waist bag? The four essentials: first aid, water, light and a tool. Everything else is task-dependent.
Q7: Are waist bags good for hiking? Excellent — they keep snacks, water, map and headlamp reachable without taking the backpack off. Pair with a proper pack for the rest.
Q8: How do I clean and maintain a waist bag? Hand-wash with mild soap, air-dry, keep zippers clean with a silicone stick, and inspect stitching and MOLLE webbing every season.
Conclusion
Proper organization turns a waist bag or a belt full of pouches from luggage into a system: frequency-based placement, one pocket one purpose, balanced weight, and a standardized layout you can rebuild with your eyes closed. Start with the four essentials, build your layout by the clock, test-walk it, photograph it — and then keep it the same forever. That’s the entire secret.
Build your setup: browse Tactical Gear > Waist Bags & Pouches, Bags & Packs, Outdoor > Backpacks, Weapon Accessories and Tools & Maintenance — everything from MOLLE pouches to the multi-tools that go inside them.